Introduction
In food photography, lighting can either make or break an image. As a food photographer, mastering lighting is crucial to capturing mouthwatering photos that showcase the true beauty, color, and texture of each dish. While many believe that pro-level food photography requires a full studio setup, the reality is that you can achieve amazing results right at home with the right lighting techniques. From natural light to DIY softboxes, this guide will explore effective lighting hacks that can bring your food photography to life, even in a home kitchen.
Why Lighting is Crucial in Food Photography
Lighting is one of the most critical aspects of food photography because it affects how viewers perceive color, texture, and freshness. Good lighting makes food look more appetizing, highlighting details and creating a natural depth that enhances visual appeal. Poor lighting, on the other hand, can flatten the image or distort colors, leading to dull and unappealing photos. With some practice and a few lighting hacks, even beginner food photographers can achieve professional-looking shots right at home.
Types of Lighting for Food Photography
Three primary types of lighting can be used in food photography:
- Natural Lighting – Harnessing sunlight to achieve soft, warm tones.
- Artificial Lighting – Using controlled lights such as LEDs to mimic natural effects.
- Mixed Lighting – Combining natural and artificial lighting for dynamic results.
Natural Lighting Hacks for Food Photography at Home
1. Positioning Near Windows

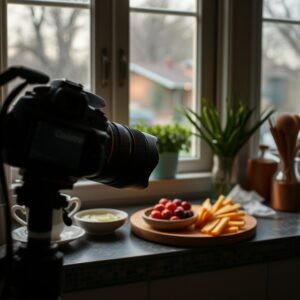
Placing your setup near a window with natural sunlight is one of the easiest ways to achieve beautiful lighting. North- or south-facing windows are ideal for balanced light throughout the day, as they avoid direct sunlight and help prevent harsh shadows or overexposure. East- or west-facing windows can work, but only during certain hours when the sun isn’t too direct.
2. Using a Diffuser for Soft Light
A simple diffuser, like a white curtain or translucent paper, over your window can soften harsh sunlight, creating a more even distribution of light and eliminating hard shadows. This hack is ideal for delicate subjects like desserts and drinks, where you want the focus on detail rather than heavy shadows.
3. Capturing the Golden Hour
The golden hour—the first hour after sunrise or the last hour before sunset—provides soft, warm lighting that enhances the natural colors in your food. This is especially effective for highlighting fresh fruits, vegetables, and bright dishes, adding a glow that enhances the appeal of your photos.
4. Playing with Shadows
Shadows add dimension and can make food look more realistic and inviting. Position your food closer to or further from the light source to adjust the shadow intensity. You can also use a white or silver bounce card on the opposite side to fill in shadows and create balance, allowing for a natural look without too much contrast.
Artificial Lighting Hacks for Food Photography at Home
1. Low-Cost LED Panels

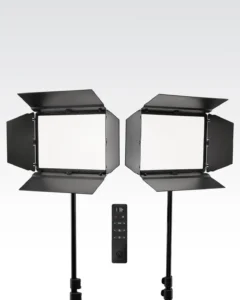
LED panels are affordable and easy to use, allowing you to adjust angles and brightness to mimic natural light. LED lights are energy-efficient and offer adjustable color temperature, making it easy to match daylight or create warm or cool tones. Set them up at angles to control shadow placement and light intensity.
2. Ring Lights for Even Lighting
Typically used in portrait photography, ring lights can also be handy for food photography. They provide even, soft light and reduce shadows, making them a good choice for overhead shots. However, avoid using them for direct front lighting, as this can flatten the look of your food. Position the ring light above your food for better depth and detail.
3. DIY Softbox
Creating a DIY softbox with a shoebox, white fabric, and LED bulbs is an affordable solution when natural light isn’t available. Softboxes create soft, diffused light that mimics daylight. Place it close to the food at an angle to soften shadows and achieve a clean, even look.
4. Adjusting White Balance
White balance is essential to avoid unnatural color tints. Most LED lights allow you to adjust color temperature, which can help you match the lighting to daylight or warm light tones. This reduces the need for excessive post-editing and gives you accurate colors straight out of the camera.
Mixed Lighting Techniques for Food Photography
Lighting Hacks for Food Photography at Home
Combining natural and artificial lighting can bring out unique textures and highlights in your food photography.
1. Blending Natural Light with LED Fill Lights
Using natural light as the primary source, position an LED fill light on the opposite side. This adds subtle illumination to shadowed areas, creating a balanced look without losing the natural quality of the light. This technique works well for textured dishes like pastries or grilled items.
2. Experimenting with Color Temperatures
Mixing warm and cool light sources can add a specific atmosphere to your shots. This technique is effective for themed food photography, such as a rustic autumnal spread, where warmth can enhance the mood.
3. Using Reflectors and Bounce Cards
Position white or silver bounce cards opposite your light source to reflect more light onto the food, reducing shadows without overpowering the subject. This technique is useful for creating even, soft lighting that still retains natural-looking highlights.
Essential Tools for DIY Food Photography Lighting
- Foam Boards – These affordable boards serve as effective backdrops and bounce cards.
- Aluminum Foil and Mirrors – Small mirrors or foil can direct light to specific details, such as garnishes or textures.
- Tripods and Phone Holders – Keep your camera steady to try different angles while keeping lighting consistent.
- Editing Apps – Apps like Adobe Lightroom or Snapseed can be used for post-processing, allowing you to enhance exposure, brightness, and contrast.
Creative Lighting Ideas for Food Photography
1. Hard and Soft Shadows
Combine a hard light source with diffusers or bounce cards to create dramatic shadows. This works well for textured foods like pastries or layered desserts, adding a depth that draws the viewer’s eye.
2. Backlighting for Transparent Foods
Positioning the light source behind transparent or semi-transparent foods, such as drinks or soups, creates a soft glow that highlights colors and textures. This technique is ideal for clear broths, cocktails, or layered desserts.
3. Silhouetting and Side Lighting
Side or backlighting is excellent for adding drama to shots of rustic foods. It enhances the textures and gives a cozy, artisanal feel, perfect for foods like bread, pasta, or hearty soups.
4. Using Colored Gels or Filters
Colored gels or filters can add mood to your food photography. For example, blue gels work well for cold winter scenes, while warm orange or yellow tones can evoke a cozy, comforting feeling.
Troubleshooting Common Lighting Issues in Food Photography
Avoiding Harsh Shadows
Diffuse harsh light with a softbox or bounce card, or reposition the light source to reduce intensity. This adjustment will soften the look of your food and avoid heavy, distracting shadows.
Reducing Glare and Reflections
Glare is common with shiny foods like glazes or sauces. To reduce glare, move the light source or use a polarizing filter. This is especially useful when shooting glossy surfaces or reflective objects.
Correcting Color Casts
Sometimes artificial lights can add blue or yellow tints. Adjust the white balance on your camera, or use photo editing software to remove unwanted color casts, ensuring the food looks as natural as possible.
Ideal Lighting Setups for Different Food Types
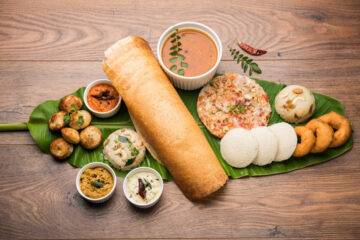
- Fresh Fruits and Vegetables – Use bright, diffused light from a side angle to highlight freshness.
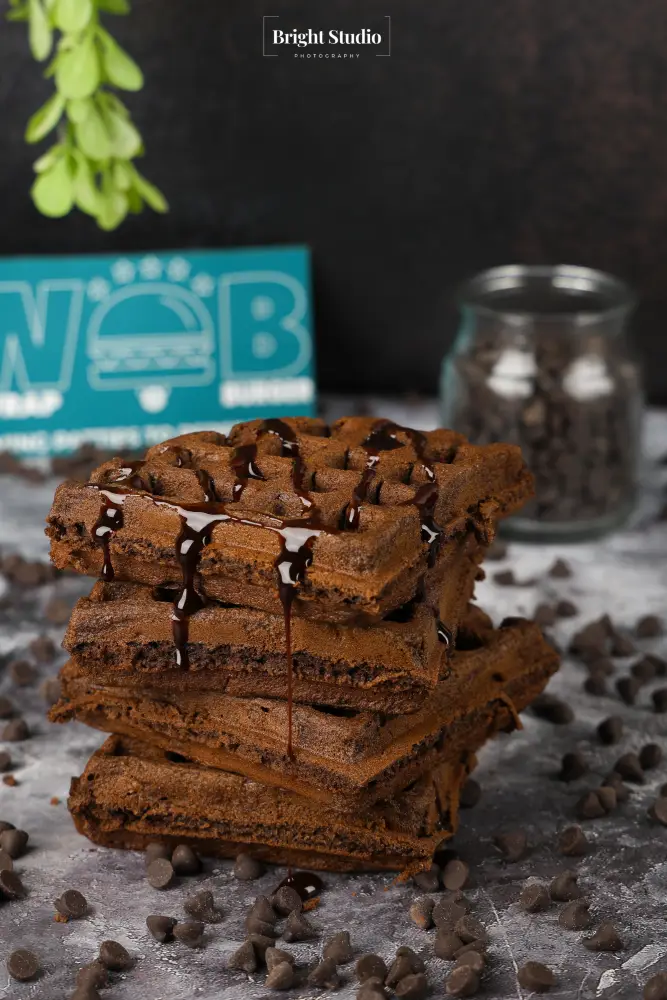
- Baked Goods – Soft, warm light emphasizes texture and warmth; backlighting works well.
- Liquids and Soups – Use backlighting to enhance transparency and depth in liquids.
- Grilled Meats and Dishes – Use harder light to bring out textures and create appetizing grill marks.
Conclusion
Lighting for food photography at home doesn’t require a studio—just a few clever hacks and basic tools can yield stunning results. From natural window lighting and DIY softboxes to experimenting with color and shadows, these lighting techniques will help you create appetizing, professional-quality photos in your own kitchen. Whether you’re just beginning or an experienced food photographer, a creative approach to lighting can bring out the best in every dish.
For more professional insights and food photography services, reach out to Manish Rajput Photography—where passion meets expertise in capturing food at its finest.


